iOS Linen texture with embossed text
author: Sylwester Los
Let's create a linen texture known from Apple devices. Then add a nice 3d looking text with shadow.
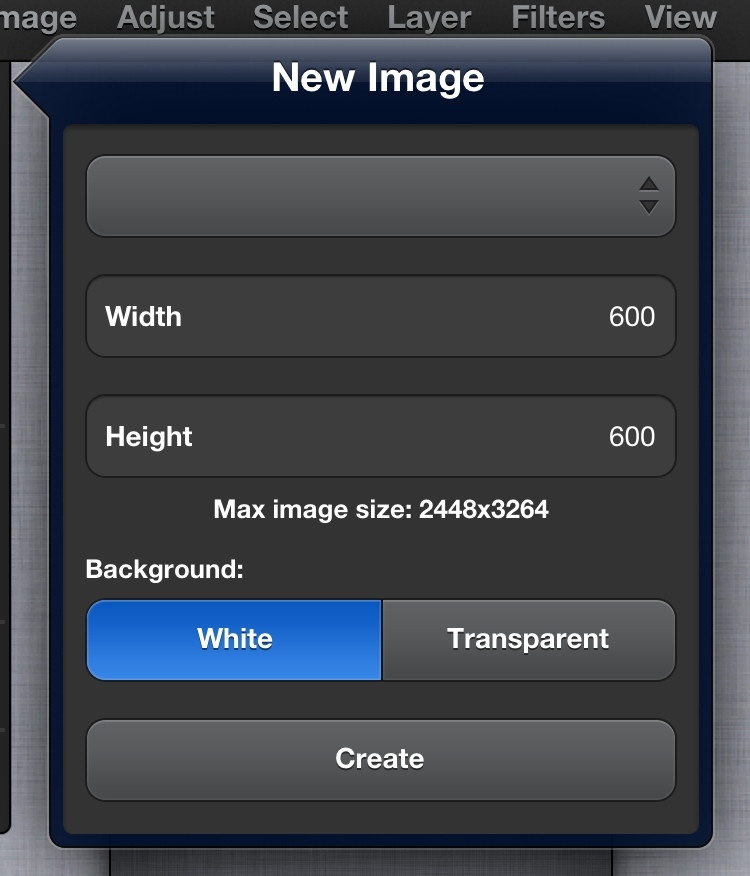
1. Tap File->New… to create new image, type "600" as width, "600" as height, and "White" background.
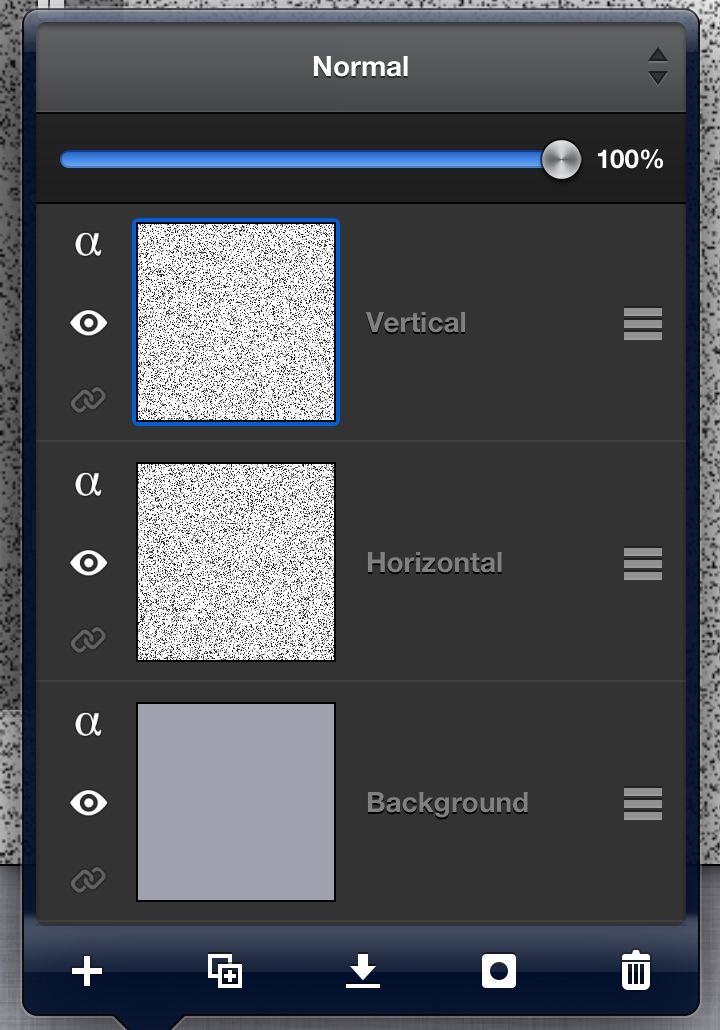
2. Name the layer "Background". Tap "Layer->Duplicate" two times to create 2 additional white layers. You can also use "Duplicate" icon in Layer's popover. Set names of the new layers to "Vertical" and "Horizontal". You should have now 3 white layers.
3. Set Color 1 in Color Editor to #9FA2AE (R:159 G:162 B:174), select "Background" layer, and tap Edit->Fill layer to set bottom layer color to gray-blueish.
4. Choose "Horizontal" layer, make sure Color 1 is black, then apply Filters->Noise->Add Noise…, set Noise type: "Monochrome", Strength: 100, Density: 65. Then choose "Vertical" layer and use the same filter, only change Density to 70. Layers should look like this:
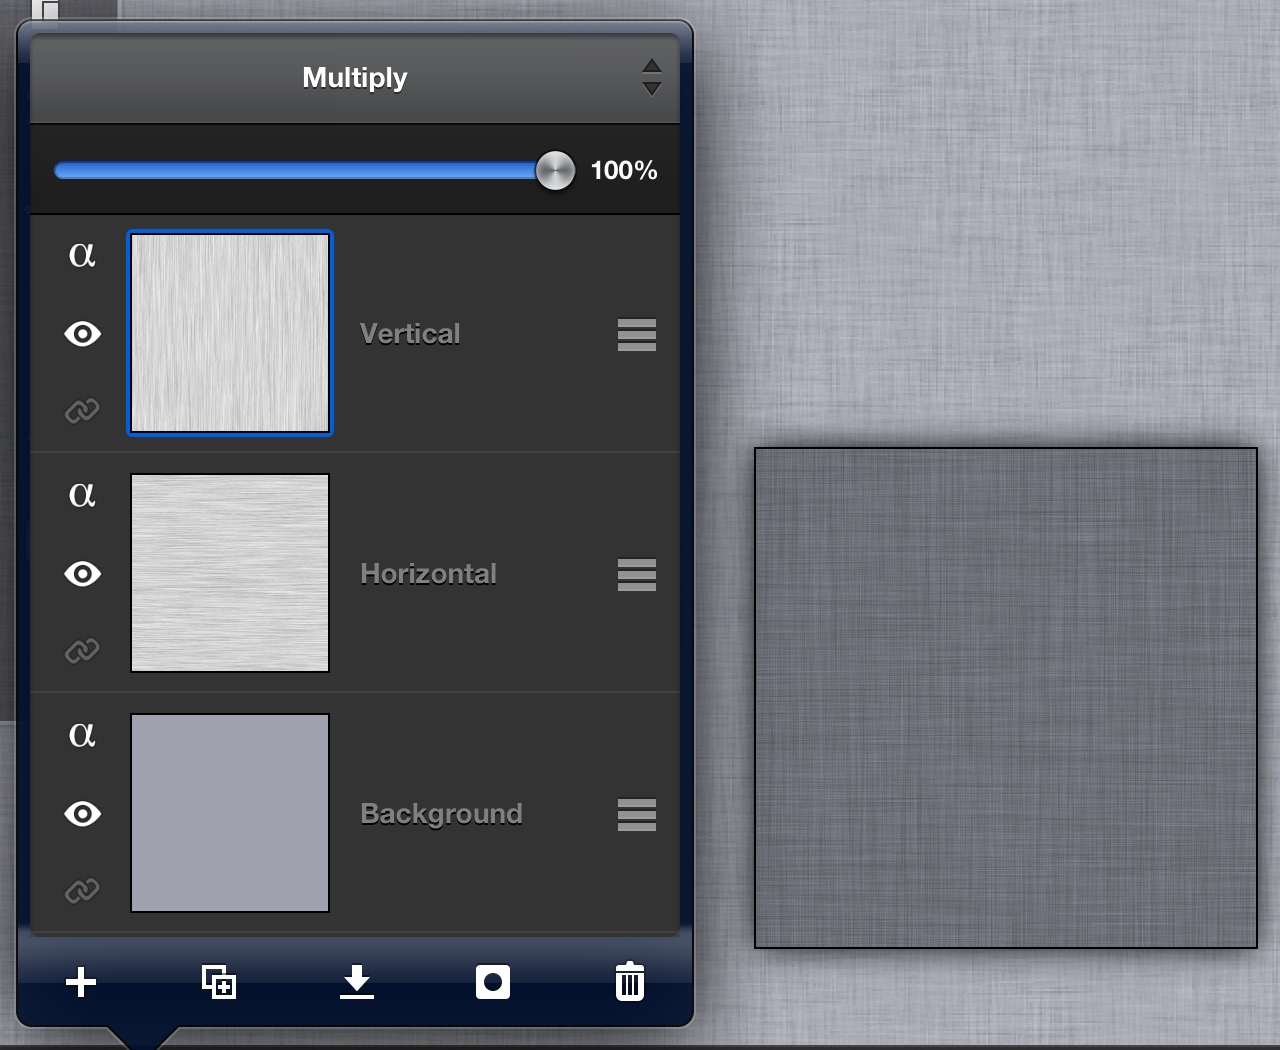
5. The linen is almost ready, we have to only blur layer 2 and 3. To do it, activate "Horizontal" layer, tap Filters->Blur->Motion Blur, set Radius:80 Angle:0. Then activate "Vertical" layer, tap Filters->Blur->Motion Blur, set Radius:80 Angle:90.
6. And finally change blending mode of both "Vertical" and "Horizontal" layer to "Multiply".
7. As you can notice, we have glitches near the right and bottom edges, so we have to trim that. Tap Image->Canvas size…, and set Width:500, Height:500, hide keyboard, then tap <Center> button and <Change canvas size>
The main part of tutorial is ready:
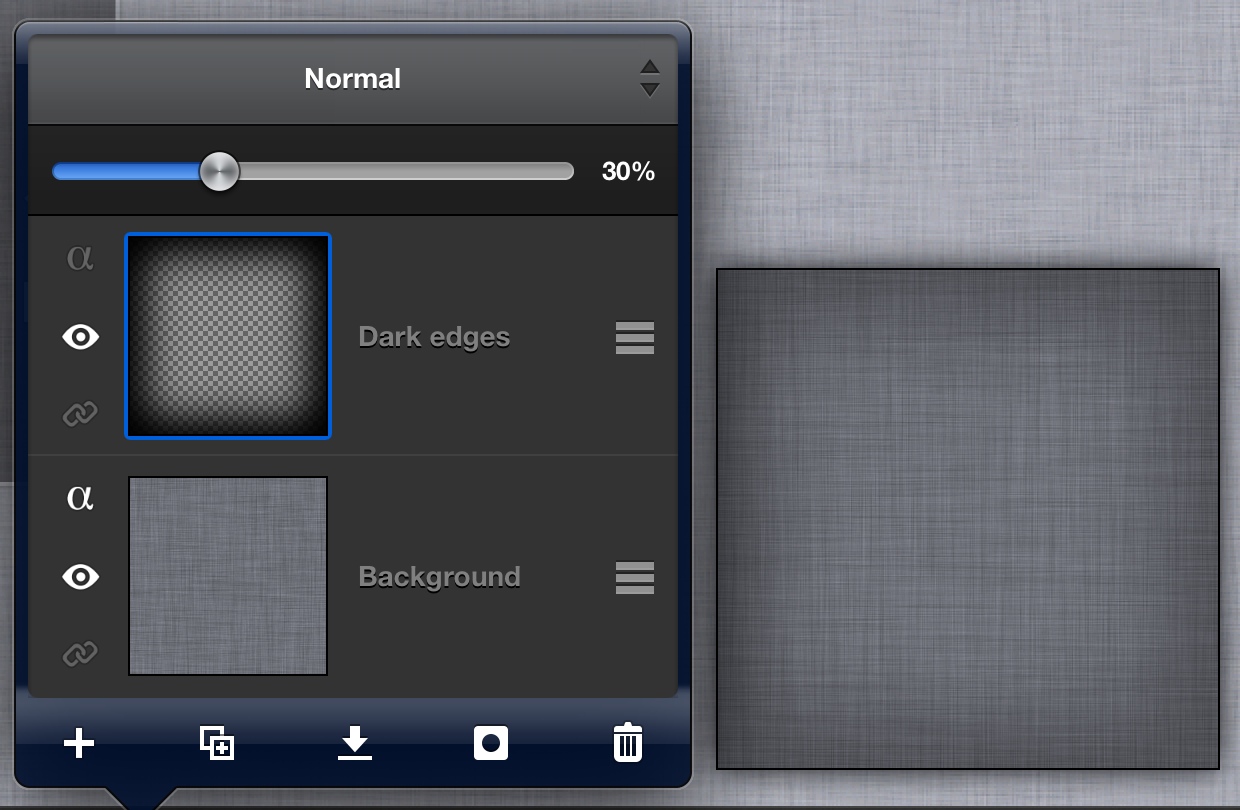
8. You can finish here with a nice linen texture. Or you can improve it a bit and add text. Texture is ready so we can flatten the image: tap Layers->Flatten image. Create a new layer on the top, name it "Dark edges". 9. You can now simply use Vignette filter, but it will darken mainly the corners, for better result let's do it manually.Tap Select->All, then Select->Contract…, set Radius: 50px. Tap Select->Round Corners…, set Radius: 20%. Tap Select->Inverse. Set Color 1 to black and tap Edit->Fill selection. Tap Select->Deselect. 10. Now let's blur it: tap Filter->Blur->Gaussian Blur…, set both radiuses to 150. Finally decrease opacity of the "Dark edges" layer to 30%.
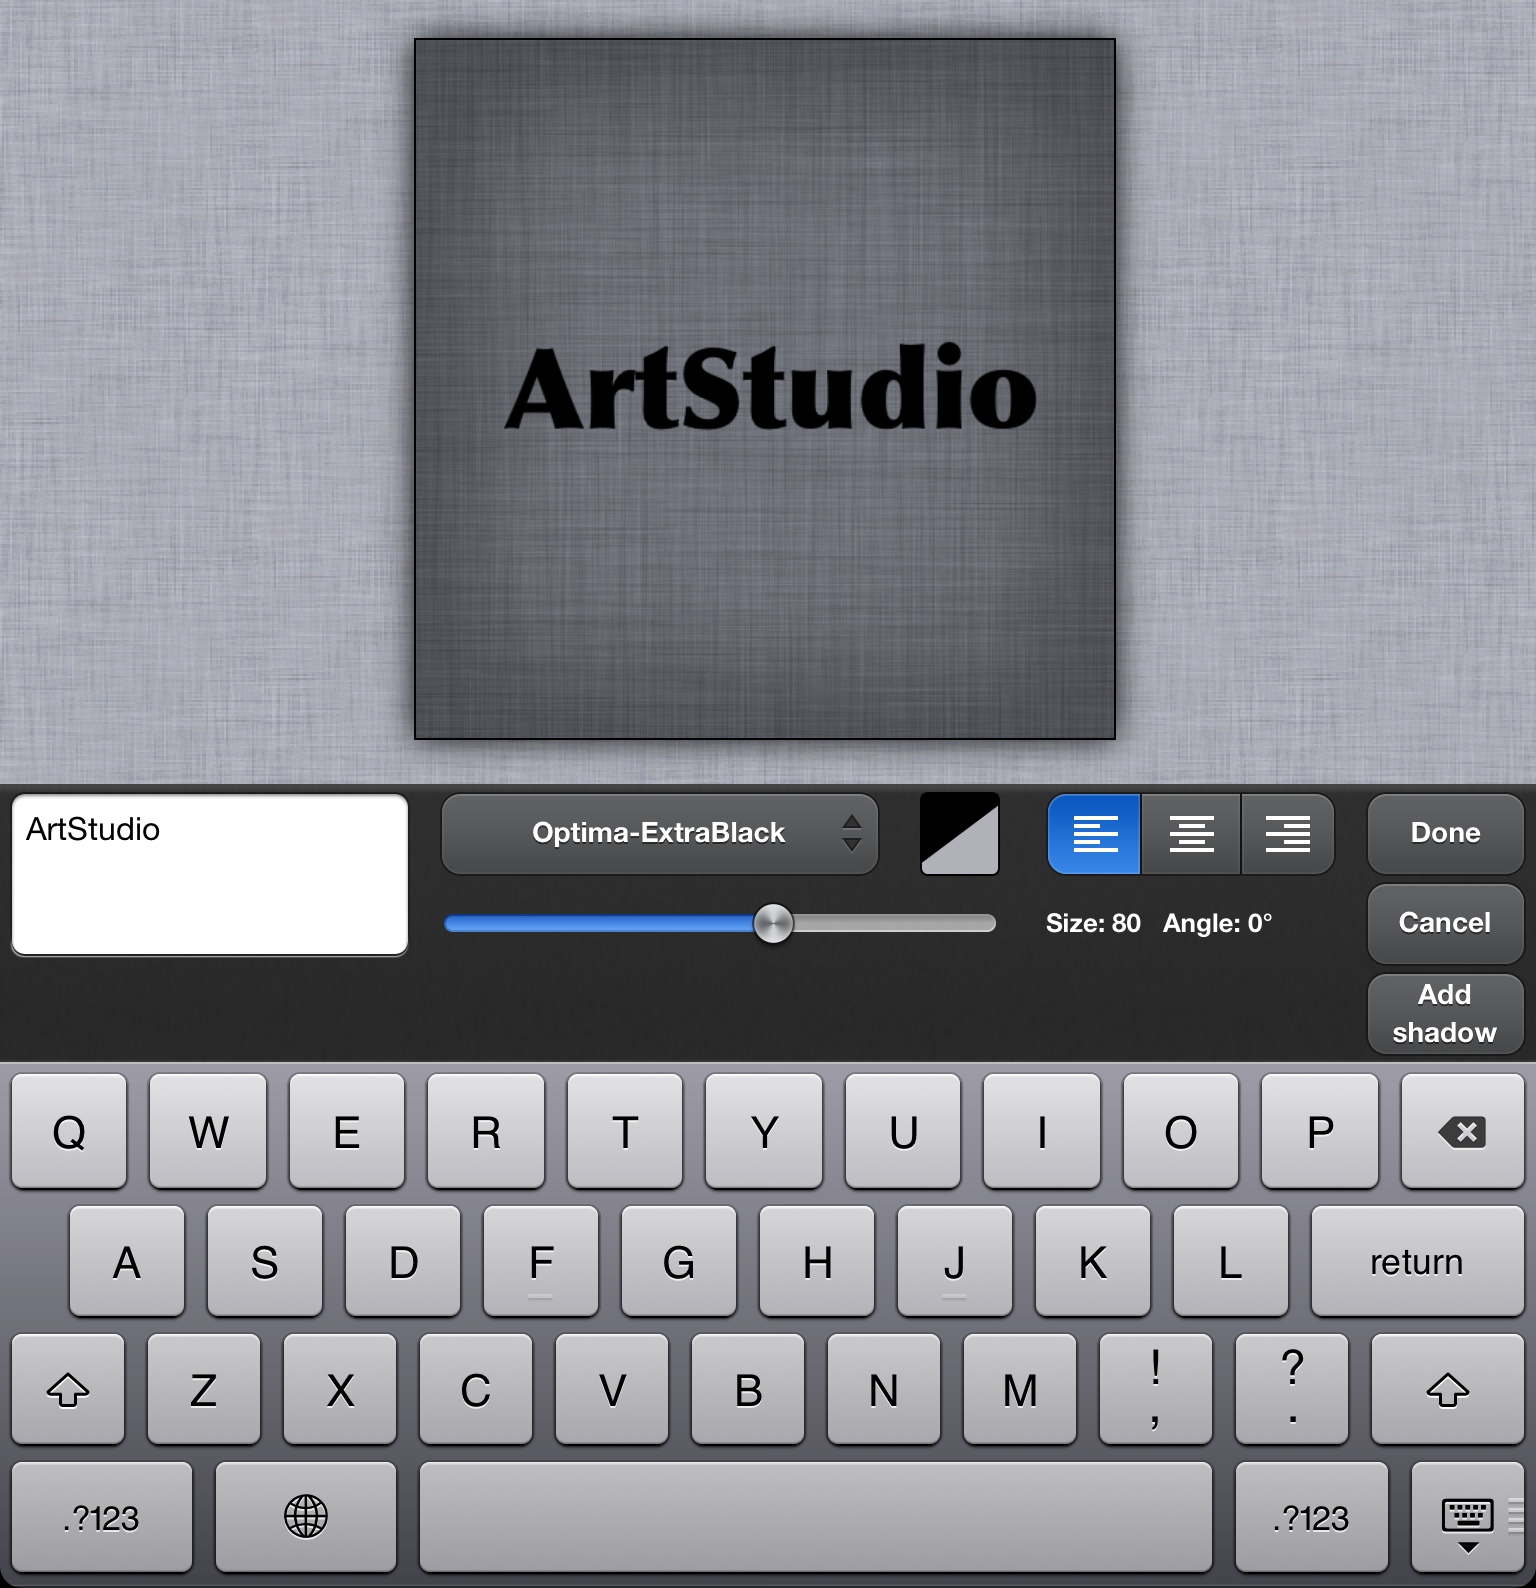
11. Texture looks better, let's add text on it. Choose Text tool from the left toolbar. Set Color 1 to black. Tap anywhere on the canvas, type any text you want. I typed "ArtStudio" with font "Optima-ExtraBlack", size: 80. Use 1 finger to drag text to the center of image:
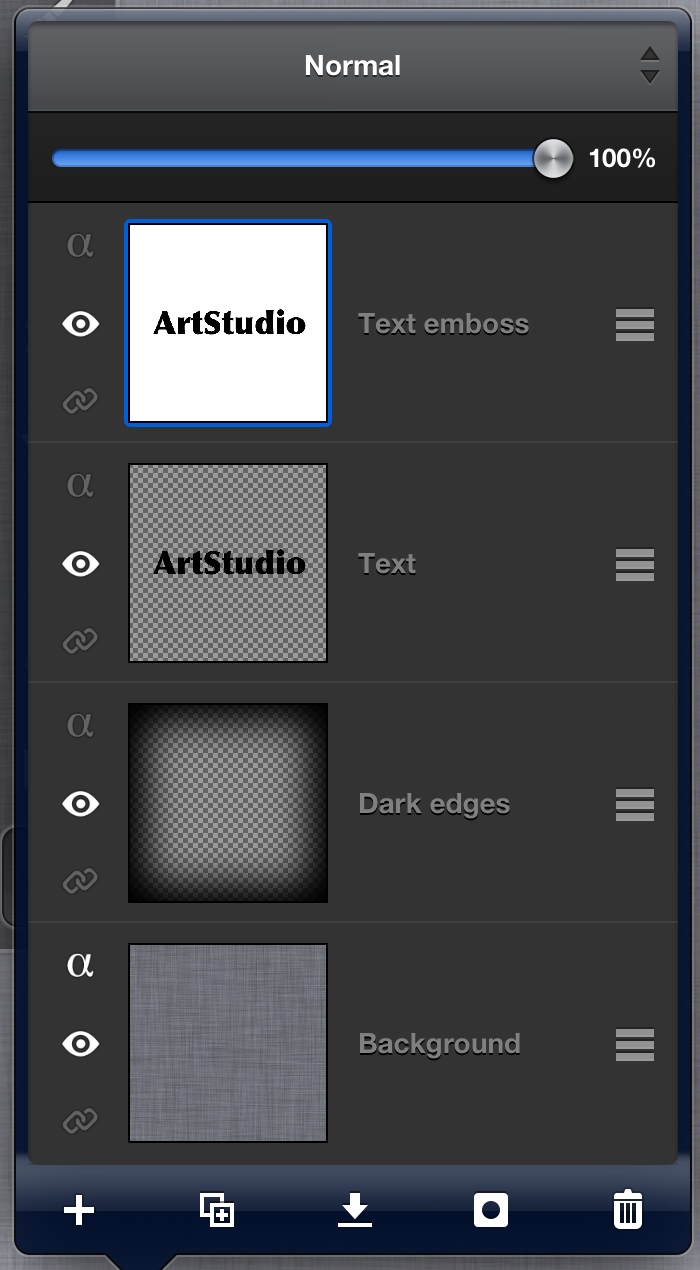
12. Tap Layer->Rasterize text, then duplicate text layer, we will need a copy to make emboss effect. Create additional empty layer, and fill it with White color, and place it between two text layers. Choose top text layer, and tap "Merge" icon then <Merge down> (or tap Layer->Merge down). Name bottom text layer as "Text", and top text layer with white background as "Text emboss":
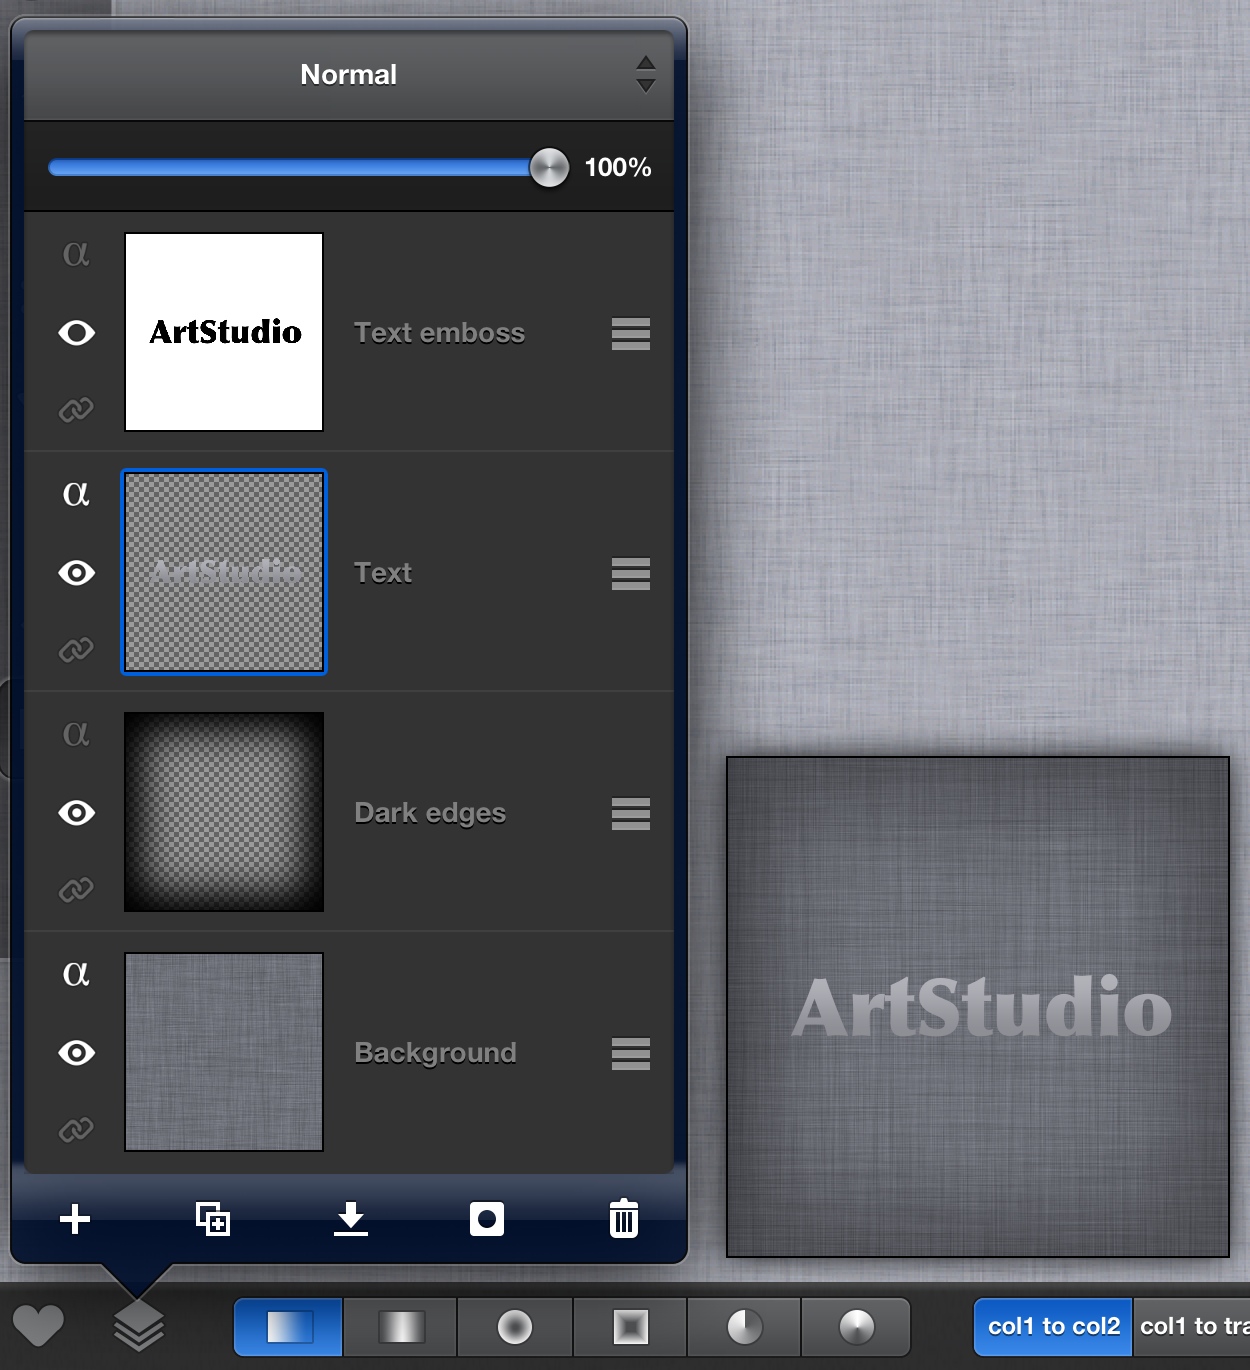
13. Let's set color to text, it can be plain color, but i use gradient. Hide "Text emboss" layer, activate "Text" layer, and enable "Lock alpha" property by tapping small "alpha" icon in "Text" layer. Set Color 1 to #8E8E95 (R:142 G:142 B:149), and Color 2 to #b2b2b9 (R:178 G:178 B:185). Choose "Gradient" tool from the left tool bar. Make sure that gradient mode is linear (icon on the left in left segment button) and "col1 to col2" (icon on the left in left segment button), Draw gradient line on canvas from bottom of text to its top. Text should be now nicely shaded:
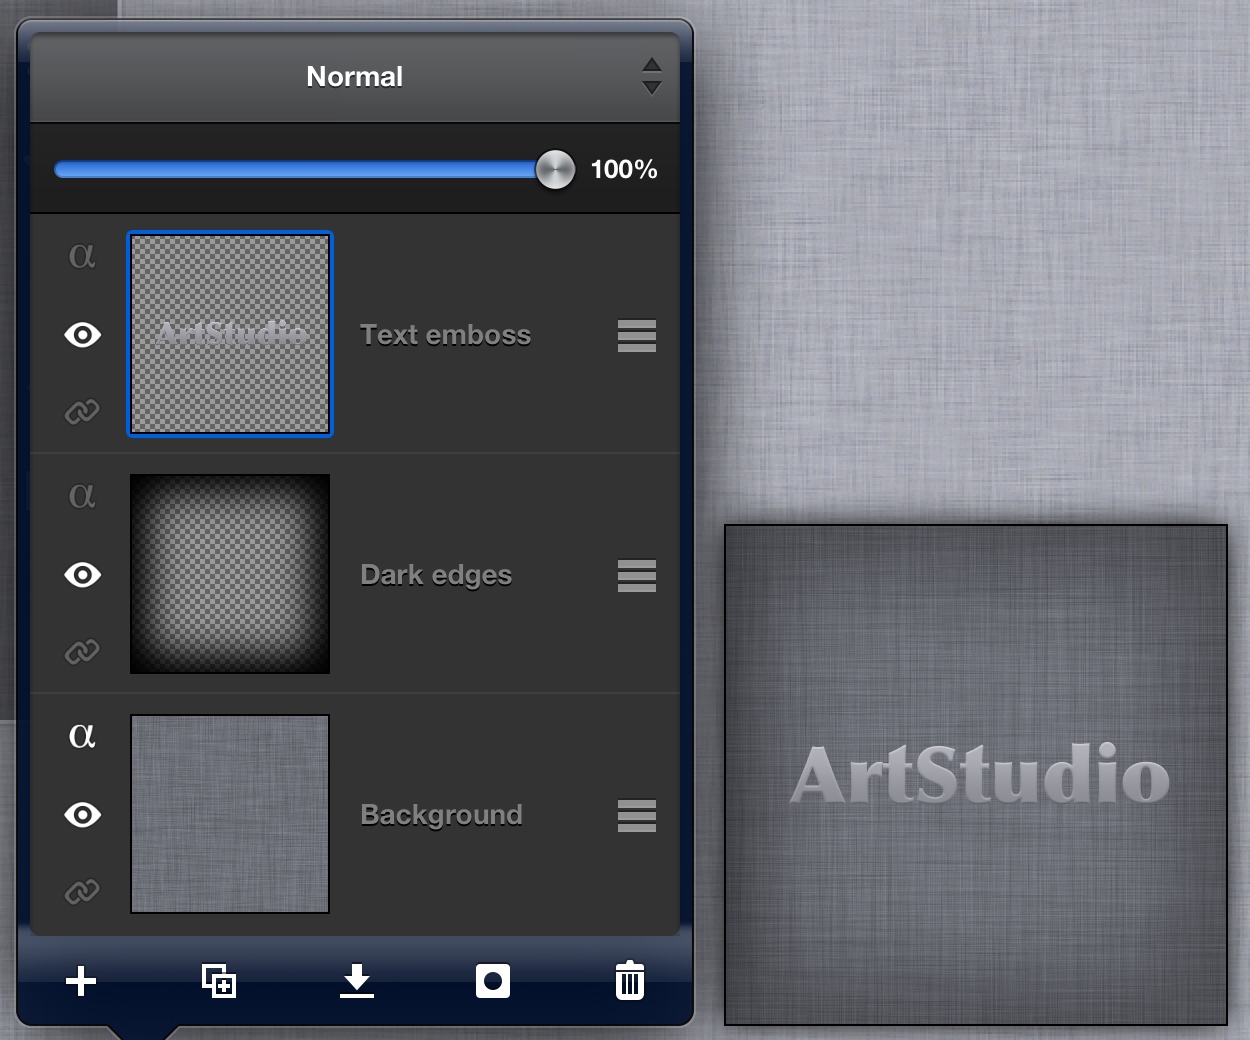
14. Time to emboss the text. Unhide and activate "Text emboss". Tap Filter->Blur…->Blur. Tap Filter->Stylize…->Emboss… and set Angle:0 Strength:6 Invert:Off. Then change blending mode of "Text emboss" layer to "Soft light" and Merge down it. We have now great embossed looking text:
15. To make it look more 3d, let's add a shadow. Make sure "Text emboss" layer is active. Set Color 1 to black. Tap Filter->Stylize…->Drop shadow, set Blur radius:20, Opacity:65, Offset-X:0, Offset-Y:3. It's done!